Showing posts with label tips. Show all posts

Sunday, November 18, 2012

Video Tutorial: Easiest Way to Fill a Piping Bag

"There is one thing I will show you today that, alone, will be worth any money you spent to be here." 

That's part of the script I recite at the beginning of each basic cake decorating workshop I've taught through Skillshare.com in San Francisco.

That "one thing", as you may recall from this post from 2011, is a genius technique for filling a piping bag, using plastic wrap.  I am still as excited about this as the first time I tried it, and can't even imagine having ever done it any other way.

So without further ado, I'm proud to present, as promised, my first ever video tutorial: "The Easiest Way to Fill a Piping Bag." Enjoy! 


Wednesday, June 20, 2012

Read This First: Demystifying the Macaron

I'm going to take another break  from writing about Paris sweets to, well, share a favorite post about a favorite Paris sweet, the macaron.

I started to notice how this delicate beauty was tres en vogue last summer, when it started showing up on most every dessert table pictured on most every party-planning or wedding blog.

So naturally I had to try making some.

I turned to the trusty interwebs to go about my research - reading post after discouraging post about how fickle macarons were, how hard it was to get everything "just right", and how one of many potential missteps would lead to disappointment. And if you know me, you know being meticulous is not really my bag.

But just as I was considering giving up, I came across this post on the BraveTart blog.

Read it before you read anything else on making macarons. 
Read it before you even read BraveTart's Ten Commandments of Macarons.
Read it before you finish reading this post, if you must.

Here goes nothing.

You don't need to take a class. And despite what you might read elsewhere, you don't need to buy a $200 scale, and you don't always need to grind your almond meal and sift your flour exactly 106 times at just the right altitude. Apparently you don't even need to use almonds, would you believe it!

I know because Stella at BraveTart took all the guesswork out of these once-mystical morsels, through a rigorous process of elimination.

From BraveTart:
I don’t know if my experiment would stand up to the rigors of the scientific method, but I did take a systematic approach. I standardized every aspect of my already stable recipe: the exact number of minutes spent mixing, weight and temperature of ingredients, oven temperature, baking time, etc.
Each day, I changed a single variable across multiple batches (generally three), and noted my results. I also tested variables by their absence. (Read more...)

I dove in head first, and look.

(Just ignore that one cracked one.)
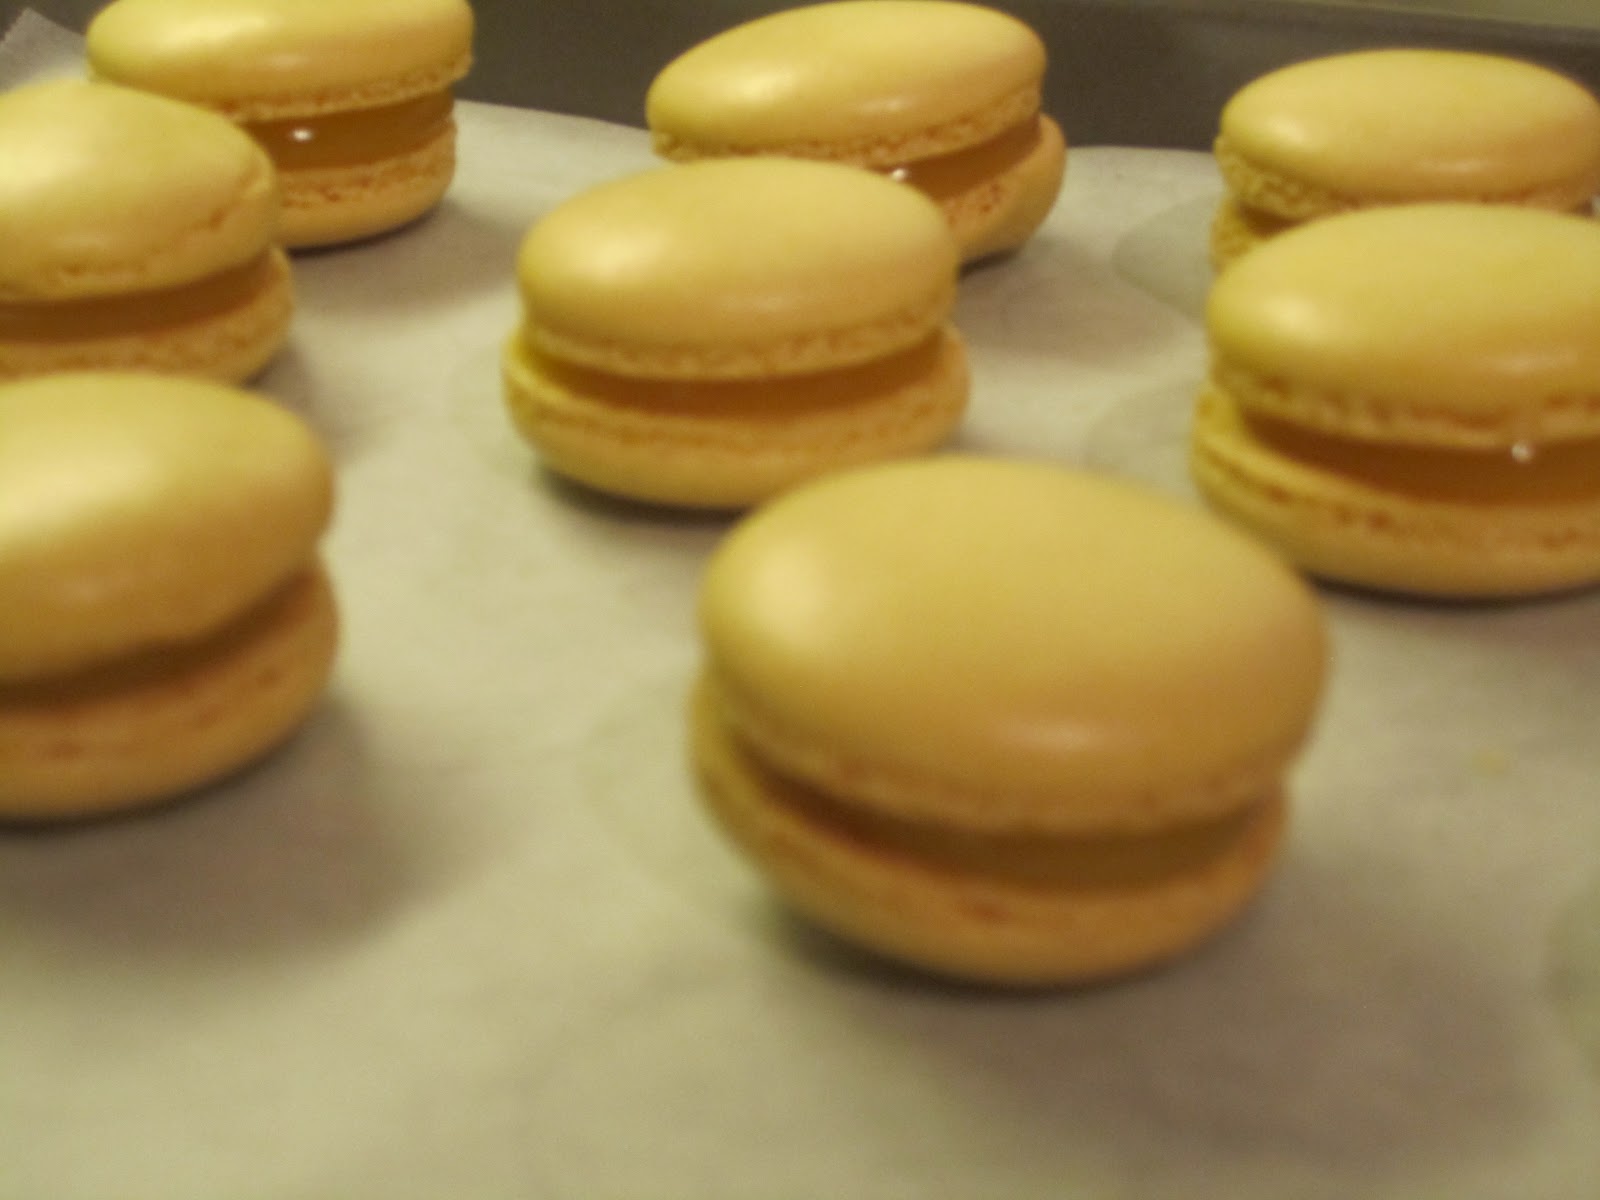
I made these last May, having never set foot in France, and having only ever eaten a macaron maybe twice in my whole life. This lover of short-cuts and occasional experimenter achieved success on the first try. 

Except for one little experiment with caramel sauce, hee hee.

Don't use caramel topping as caramel filling. DUH.
Do use chocolate ganache...
or lemon curd, if you're into that.
Impress your friends and yourself.
Here's that link again, to BraveTart's blog post on Macaron Myths. Recipes follow.


Wednesday, June 13, 2012

2-minute Microwave Mug Cake

We interrupt our regularly-scheduled programming (i.e. my Paris Top Ten List) for this important message:

TODAY IS MY BIRTHDAY. Time to kick it up a notch.

The day started with a completely corrupted version of what's supposed to be a healthy breakfast - oatmeal topped with crème brûlée at Zazie in San Francisco.

Criminal.
Why even bother with the oatmeal. I barely ate any of it (or many of the bananas, for that matter) if only because I had to save room for pancakes. It wouldn't be my birthday without pancakes.


Fast forward to night-time. Post chicken parmesan dinner, made by the mister, came dessert part one: Secret Breakfast Ice Cream from Humphry Slocombe. For the uninitiated, that's bourbon ice cream with corn flakes - Humphry's most popular flavor, but nowhere near its most offbeat (from NYT: Who Wants Prosciutto Ice Cream?)


And if you think the aforementioned prosciutto ice cream is wackadoo, up there on the right is Humphry's foie gras ice cream sandwich. That's right. Ice cream made with fattened goose liver, between two ginger snap cookies (a limited time offer, considering a ban on foie gras goes into effect in SF in July.)

Quite the line-up on my special day. But how does a guy really impress a girl whose life passion is cake?

Why, you get out the flour and bake, of course.


Or in the case of my better half, you get nukin'!

My Sweet (the human, not the blog) had filed away a blurb from Lucky Peach Magazine, which laid out instructions for a chocolate cake, that you make in a mug, in two minutes, in your flippin' microwave!!! 


Mind. Blown.

You could buy this:

Spotted at Cost Plus World Market

But why would you?

Recipes abound on the World Wide Web (just Google "mug cake.") A Pinterest search yields a Nutella-flavored version (mmmm...) repinned dozens of times.

Here's the Lucky Peach version, which calls for a few simple ingredients you probably already have on hand:
3 tablespoons vegetable oil
3 tablespoons whole milk
1 large egg
1/4 teaspoon vanilla extract
3 tablespoons (20 grams) all-purpose flour
4 tablespoons (45 grams) sugar
2 tablespoons (10 grams) unsweetened cocoa powder
Pinch salt
3 tablespoons (30 grams) semi-sweet chocolate chips
 
In a medium sized microwave-safe mug, add the vegetable oil, whole milk, egg, and vanilla extract. Use a fork or small whisk to mix until combined. Add the flour, sugar, cocoa, and salt and mix until combined. Stir in the chocolate chips.
Bake in the microwave on high for two minutes. Serve immediately.

"Serve immediately?" Who's making this in advance? It only takes 2 minutes. And therein lies the danger of this magical microwavable love in a mug: low commitment plus instant gratification equals sweet, sweet temptation.

Encore!
Happy birthday to me.

Saturday, May 19, 2012

Game Changer: Covering Cake Boards

I am on a roll this month. First there was the "piece of cake" experiment, just for fun. Then I made a heart-themed cake, because I was feeling inspired. And just when I thought I was done scratching the itch, I was called on to make the cake for a "polka dot" themed birthday party.


A bit of poor planning led me to my latest trick, and one that I'm very excited about at that - a snappy new way to cover a cake board, without using fondant!

It all came about because I had failed to procure a foil covered board. Without a firm plan in place, I wound up constructing and decorating my entire cake on a flimsy, and by now, grease-stained cardboard cake circle, which I didn't even trim.

This is what I had to work with
As you can see, the cake had sugar paste polka dots lining the bottom edge, which meant covering the board with fondant after completing the cake would be somewhat troublesome.

The idea came to me at the 11th hour. I had stopped at Michael's to pick up a scalloped cake plate to at least fortify the base of the cake. But just feet away, in the scrapbooking section, lay the solution to my shabby cake board conundrum.

I picked up four sheets of scrapbook paper in the colours to match my polka dots, and took them home to see what I could whip up.

I didn't take any pictures of this process - it was late and speed was of the essence. Basically, I positioned the cake, on its board, over the scrapbook paper, making sure one edge of the paper lined up with the cake, and would reach under the cake a little. Then I traced out the shape of the cake board and cut the paper to size. Repeat 3 more times, and you end up with 4 (sort of) semi-circles which I then gently slipped under my cake. The picture below will give you an idea of what I mean.

Close-up 
A little piping gel will hold the paper in place (tape would work just fine as well, but considering that I'm already using scrapbook paper here, I went with the more food safe option.)

For a round cake on a round board, I'd trace the entire circle, and then cut out another circle from inside, slightly smaller than the cake, to create a ring - and then wrap that around the cake and gently tuck under it.

There you have it! Never fuss with covering a cake board with fondant again.

Now here are a few more pictures of this cake in progress:

Pink and aqua cake to go with the the pink, aqua and red color scheme
"Polka dots" in the cake to go with the polka dot theme
Polka dot production in progress (I didn't end up needing the green)
Process of polka dot placement

Bunting made from the leftover scrapbook paper, a little twine, and two coffee stirrers
My favorite part of making cakes.


Tuesday, February 7, 2012

Love for EVERYONE (Plus One Way to Get a Perfectly Flat and Smooth Buttercream Top)

Today, a federal appeals court in San Francisco ruled that California's Proposition 8 is unconstitutional.
That makes this a fine day to share one of my favorite cakes:


A friend had asked about having me make a cake to celebrate Pride weekend in San Francisco last June. He didn't end up needing one after all, but I was so excited about the idea, I made one anyway. As it turns out, the weekend I made this cake was also the weekend New York state voted to legalize gay marriage.
(Aaaand, it was also still my birthday month, so there was that...)

Because a rainbow flag, rainbow letters and rainbow sprinkles weren't enough...


... I also made it rainbow inside.

I showed the rainbow cake process in this picture montage from another post.


I had really been struggling with getting a smooth, flat top on my frosting and used this opportunity to try out an interesting new technique I came across on Cake Central: icing the cake upside down. I thought the results were pretty flawless.

I didn't take any of my own pictures, but here's a collage I made with pictures from the Cake Central post:

Click on the picture to see the full tutorial.

It's basically four steps:

1) Tape a piece of parchment to a board and pipe on a circle of BC, the exact size of your cake (this will be the top of your cake!) Freeze or refrigerate until firm.
2) Place your prepped cake on the frozen circle of icing, fill and layer as needed, and then ice the sides (hence, icing "upside down.") Move quickly! Chill again till firm.
3) Remove the cake from the fridge/freezer, and quickly and carefully flip it over onto your board. Leaving the parchment on top, chill yet again.
4) Once the top is nice and stiff, gently peel back the parchment paper. Perfection!
 
Until this post, I actually forgot how well this technique worked for me. I have to do this again, perhaps on an 8 inch cake (though I'd certainly recommend starting with a 5- or 6-inch if you're trying this for the first time - easier to handle.)

Total game changer!

I hope you like, and I hope you try.

Saturday, December 24, 2011

The Cake-tastrophe Part 2: What Went Wrong?

One of the hazards of being a mostly self-taught cake artist: the "errors" in the "trial and error" process.

This one was a doozy.

Rapunzel's Tower cake in the morning

I introduced you to this project in my last post, The Cake-tastrophe Part 1: "Just Like on Those Cake Shows", but here's the set-up in a nutshell.

What my boss said: "Hey Gitu, can you make a Tangled cake Charlotte's birthday? Nothing crazy, just for 4 people. Any time this weekend, or even next weekend. It would make for a nice surprise. Feel free to say no if you can't take it on."

What I heard: "Hey Gitu, don't you want to try making a Tangled cake with a 3D RKT tower, covered with marbled rocks? Oh and maybe you can hand-sculpt a Rapunzel and give her lots of delicate blond hair that will be impossibly hard to handle. By this Sunday please."

What could go wrong? Where do I begin.

Rapunzel's Tower cake when I left it the night before

Let's start with the obvious flaws:

  1. Engineering: An 8 inch round cake that's 5-ish inches tall will not support a 15-inch RKT tower covered in layers of heavy fondant. Even with double dowels. 
  2. Deliciousness vs. Design: Said cake will be even less able to support said tower if it is torted thinly and filled with ganache. This was five layers of chocolate WASC cake. Would I have fared better if I had used two thick layers of pound cake and crusting butterceam instead?
  3. Aesthetic vs. Assembly: Ideally, this project would have been finished in two separate pieces, and the tower would be placed on the cake right before presentation. But I wanted Rapunzel's hair to fall all the way from the tower and down the cake and the only way to do that was to apply the hair after  the cake and tower were attached. Wrong decision.
  4. Equipment and Storage: The cake was too tall to fit in my refrigerator. It was pretty hare-brained of me to think that I could leave it out on the counter overnight and expect it to maintain its structural integrity. Remember, we're talking about thinly torted WASC cake and ganache here. Unrefrigerated. When I close my eyes I can see the layers settling, and softening, and sliding about in slow motion, as I slept. 
  5. This is where you come in. What's your experience with 3D cakes that challenge gravity? Do you have any horror stories of your own and what can I learn from them? Please share.


In the meantime, here's a look at the 15 hours of labor that went into this cake, before going down the drain.


Home-made fondant to cover the cake board. This batch was so difficult to work with, but I persevered. It ended up in the garbage.

5 layers of chocolate WASC cake, filled and frosted with a rich dark chocolate ganache. I'd say this was the most delicious cake I had made up to this point.

I know because I ate most of it with my hands, while sobbing, before throwing the rest out.

In the garbage.

(JK about the sobbing, but wasn't it fun to picture it?)


First time using RKT to create a 3D cake. I used a PVC pipe to shape the bottom part (wrapped in plastic for protection) and sculpted the top by hand.

Only for it to be dumped in the garbage.


Fondant colored and marbled by hand to resemble rocks and applied piece by individual piece to the tower.

Before ending up in the garbage.


Rapunzel face and torso, sculpted by hand.
Check out that cleavage.

It's now in the garbage.


Wood embellishment painstakingly painted and etched onto top of tower.

And then later thrown in the garbage.


Purple fondant shingles cut by hand and applied individually to the roof of the tower.

Not the best job, but certainly not bad enough to throw in the garbage?


Blond hair made of yellow fondant and disco dust, delicately extruded into skeins of fragile filaments.

And then dumped, along with everything else, in the garbage.

Not seen here: me using a pair of tweezers to make sure every last intricate strand fell perfectly in place down Rapunzel's tower.


Buttercream grass, fondant bushes and flowers, candy rocks and even a stream made of blue piping gel.

Now that I think about it, the stream was probably also part of the reason that this cake ended up...

in the garbage.

Friday, October 7, 2011

Game Changer - Filling Piping Bags

You will never fill a piping bag the same way again after reading this post.

I wish I could take credit for this idea, but I actually came across it on a blog some months back (can't remember which one, or else I'd link back to it.) I finally put it to the test this past weekend, and I'm not looking back. All you need, besides your prepared piping bag and frosting, is plastic wrap (aka cling film, Saran Wrap, or in my case, "Kirkland Stretch-tite".)


Start by laying down a length of plastic wrap. Plop down some of that frosting on it, closer to one edge (i.e. not right in the middle.) 


If you need a lot of frosting, this technique will allow you to fill the bag with more than you would ordinarily. As you will soon see, the excess will not squirt out the top. More frosting in the bag = fewer stops to refill.

Step 2: Wrap the frosting in your plastic wrap, into a roll that will fit comfortably inside your piping bag.


Next, twist the end of the plastic wrap that's longer, nice and tight, like so:


Now simply feed your roll of frosting into your piping bag with the open end going in first. You see where I'm going with this.


Squeeze the back end of your frosting roll so the frosting breaks out into the piping bag.


Now you can start piping as usual, without having to wash your  greasy hands from filling your bag the old way! Also, as I mentioned earlier, there's less risk of frosting squishing out the top of the bag because you twisted the plastic roll shut. Good, right?

But wait! There's more!

Check out how easy it is to clean up when you're done:


Just pull out your plastic roll and discard. And if that wasn't enough, my piping bag was in much better shape to reuse, which means less waste, which means happy Gitu.

I bet this technique would make "striping" a breeze (I may have just made that term up, but I'm referring to the technique where you fill your bag with 2 colors of frosting.) Ooh I might try doing 3 or 4 now that I have this handy trick up my sleeve.

Oh, final step: Get a manicure already.

Monday, October 3, 2011

6 Tips for Better Cake Pops (That I Learned the Hard Way)

Is it just me, or are cake pops a heck of a lot harder to make than they appear? I'd say I'm pretty confident and dexterous when it comes to crafting confections (see title of my blog) yet making cake pops have proved to be... well, a giant pain in the tush. 


One of many cake pop fails
From getting the cake balls to taste good, to getting the candy coating smooth, to getting the darn things to stay on their sticks - there seem to be so many things that can go wrong with these otherwise adorable treats...

Unless, you have a little insider information from someone who's made all the mistakes multiple times, so you don't have to.


Cake Pop Success!
Here are 7 common problems I've encountered when making cake pops, and how I eventually overcame them:


Problem #1: My cake pops are disgustingly sweet and mushy.
Solution: Don't feel like you have to use frosting.


There are recipes out there call for up to one whole can of frosting per box of cake mix.

One whole can.

When I first tried making cake pops, I didn't even use half a can of frosting and still found them too dense and unpalatable. Eventually I found that if I started with a good, moist cake, I didn't need frosting at all, to form them into balls. If your cake isn't moist enough, add frosting one tablespoon at a time and stop when it starts to come together. Your tastebuds will thank you.


Untested tip: one of my friends uses coconut oil to moisten her cake, which could be a better option than frosting if you're looking to control sweetness. My question is, will that add some coconut oil flavor? Because I'm not sure how I feel about that.


Problem #2: My cake balls keep falling off their sticks.
Solution: Make smaller cake balls.


When you start rolling your cake crumbs into balls, you'll be tempted to make them the size you want your final cake pop to be. But remember, your candy coat will add to the size and, more importantly, the weight, of your cake ball. Try making your cake balls a little smaller (2" max) and see if that helps.


Problem #3: My cake balls are misshapen and not uniform. 
Solution: Try using a meatballer.


This is a good investment if you plan on making a lot of cake pops. I've been hard pressed to find a meatballer at a "bricks and mortar" kitchen supply store, but you should have no problem finding one on the good ol' interwebs. I made the mistake of ordering a 2.5" meatballer off Amazon - it was too big (see problem #2.) Finally, I stumbled upon my trusty 2" meatballer when I wasn't even looking, at Eataly in NYC. 


Perfect.


Besides keeping your cake balls the same size, using a meatballer can also make sure they're nice and compact, and therefore keep them from falling apart (yes, again, even without frosting.) Use your hands to stuff as much cake as you can between the domes of your meatballer, and use your hands again to squeeze the domes together. Open, release the cake ball, rotate, and squeeze again, peeling off the excess cake that squishes out the middle.


If you need another reason to buy a meatballer, they make quick work of making cake balls. I made cake pops this past weekend and I banged out these 13 cake balls in 2 minutes flat. 


Once you've formed your cake balls, you'll still want to give them a final roll with your hands to smooth out any lumps which might show through your candy coat (not pretty.) Compare the cake balls above (before hand rolling) to the ones below (after hand rolling.)


Problem #4: My candy coating is not easy to work with (not smooth, too thin, too lumpy)
Solution 1: Don't overheat / overmelt your candy

Most recipes will tell you to nuke your candy melts in 30 second increments until they've melted. What they don't all tell you is that you should actually stop while there are still a lot of solid chunks remaining, and then work out the lumps with the help of any residual heat and a lot of elbow grease.

- I've found that the more I heat my candy, the more prone it is to seizing. UPDATE: The Cakeb0t blog confirms that overheating is an issue. Binky of Cakeb0t says she uses a candy thermometer to monitor the melting process and makes sure the candy doesn't heat up over 100°F.

- I've also found that dipping cake balls in candy that's too hot, makes them more likely to disintegrate.

- You can add a little (a little!) vegetable oil or shortening (or some paramount crystals if you are willing and able to get them) to the candy before melting, if needed, to make it more fluid. UPDATE: Cakeb0t shares her tried and tested proportions of candy to shortening in a recent e-mail newsletter:
"I've found that a tablespoon of shortening to 6 or 7 ounces added to melted candy melts makes for a nice dipping consistency."
- If your candy is too runny, your coating will be too thin and your cake, lumps and all, will show though. My cake pops come out better when my melted candy is a little on the  thicker side.

- Make the effort to mix properly (who couldn't use the extra upper body workout?) Small lumps in your melted candy will result in small lumps on your cake pop. Big lumps in your melted candy could mess up the smooth finish when the lumps slide off your cake pop as it dries.

Top right: Too thin.
Bottom right: Too lumpy
Solution 2: Try a different brand of candy
All candy melts are not created equal. I generally use Wilton brand and have had the best results with their brown and white varieties. I've had the most trouble with their orange and blue versions. I also had a hard time with Make N' Mold's blue candy melts, although I only tried it once, and may have overmelted them. Wilton and Make N' Mold are among the more affordable brands. I'd be surprised if more professional-grade brands aren't easier to use. 

Solution 3: Keep away from water! 
You should know by now that candy melts and water DO NOT MIX. But if you didn't know that, take note: candy melts and water DO NOT MIX.  

Use completely dry containers, spoons, hands, etc. when melting candy, and don't even think of adding food color that's water-based. Melted chocolate / candy that comes into contact with water will "seize" and you'll have to throw it out (and you know how I feel about waste.)

The pictures below show what melted chocolate / candy looks like when it has seized. It will form a lump as you're stirring it and slide right off your spoon.
Blech.
Problem #5: My cake pops keep cracking / splitting
Solution: Let the cake balls come back to room temperature a little before dipping

Most, if not all, cake pop recipes will call on you to refrigerate your cake balls after inserting your sticks, dipped in a small amount of candy. This is so the candy will harden and the sticks will take hold. This should only take a few minutes. But if you have to leave your pops in the fridge for a while and come back to them later, as I often do, let them come back to room temperature-ish before you dip them in your melted candy.


Just chillin'
When troubleshooting my own cracking issues, it dawned on me that it could all be a simple matter of physics -- matter shrinks when it's cooled, and expands when it's heated. I figured my cold cake balls were simply expanding as they warmed back up, and then, appropriately, busting out of their candy shells. Waiting until the cake balls were back at room temperature before dipping solved that for me.


Crack is Whack
Problem #6: Decorating cake pops can be, for lack of a better word, a b*$%h. 
Solution: Use parchment triangles, not pastry bags, for piping designs.

If you know me, you know I like to take short cuts whenever possible. But trust me, melting your candy right in a plastic decorating bag is not worth the time you think you'll save. The candy will be likely to melt unevenly, and be difficult to pipe smoothly, and you will have to start all over.

Unless you're going the "drizzle and swirl" route and don't care if it's messy, take the extra trouble to melt your candy separately, and spoon just a little bit into a small parchment triangle. Again, gently heating your candy in a bowl and mixing vigorously as it melts the rest of the way, will ensure it's smooth. Using a small parchment triangle will mean more control when drawing. 


Take a look at the sports cake pops I made and painstakingly decorated this weekend, for my 3-year-old neighbor and birthday boy, A.J. I did not use a parchment triangle for the footballs, but I did for the baseballs. Notice the difference?


And that's all I got! 

Here's a link to the quintessential site on making cake pops, Bakerella.com. It's full of ideas and pictures from readers. And here's a link to  more cake pop tips from Cakeb0t.com, one of my favorite cake websites. 

Good luck!