Showing posts with label game changer. Show all posts

Sunday, January 6, 2013

2013 Game Changer: Cake on Demand

Soaking Bake E-Z strips. Cutting out parchment circles. Running my oven for hours on end. Washing cake pans. These are a few things I look forward to not doing so much of in 2013.

It's all thanks to a random stop at a Safeway store on the wrong side of the Golden Gate Bridge this morning. On a whim, I popped by the bakery to ask if they'd sell me some uniced cakes. This was not the first time I've tried that move at various grocery stores and bakeries in my neighborhood. Except all the other times the bakery clerks looked at me like I had two heads.

Today, however, I was lucky enough to happen upon the bakery manager, who understood exactly what I was looking for and easily produced two 8-inch chocolate rounds from the freezer.

Courtesy of my new BFF, Phillip, the bakery manager at Safeway in Mill Valley
$10.99 plus tax bought me the two individually-wrapped cakes, with a cake circle and a box as well. Phillip even had 6-inchers to offer.


Decorators: what are your thoughts on buying pre-baked, uniced, frozen cakes? Is it "cheating" if you make no claims to have baked the cakes yourself?
As a buyer, would you be opposed to having factory-baked cakes if the fillings and frosting are made from scratch and the cake is custom-decorated to your specifications?

Mais non! Apparently the French do it as well!

Imagine my delight when I spied these uniced, wrapped genoise cakes available for sale at the G'Detou patisserie supply shop in Paris during my visit last summer. (And then imagine my despair when I realized I knew of nowhere else from which to purchase these cakes, except the G'Detou patisserie supply shop in Paris.)

G'Detou is, naturally, #1 on my abandoned Paris Top 10 list.

Click here to see what some are saying about decorating pre-baked cakes on cakecentral.com. I'd love to hear your thoughts below.

Sunday, November 18, 2012

Video Tutorial: Easiest Way to Fill a Piping Bag

"There is one thing I will show you today that, alone, will be worth any money you spent to be here." 

That's part of the script I recite at the beginning of each basic cake decorating workshop I've taught through Skillshare.com in San Francisco.

That "one thing", as you may recall from this post from 2011, is a genius technique for filling a piping bag, using plastic wrap.  I am still as excited about this as the first time I tried it, and can't even imagine having ever done it any other way.

So without further ado, I'm proud to present, as promised, my first ever video tutorial: "The Easiest Way to Fill a Piping Bag." Enjoy! 


Thursday, July 19, 2012

Tutorial: The Easiest Ice Cream

If you're reading this blog, you're probably the type of person who knows that National Ice Cream Month is in full swing.

Or perhaps you caught one of the countless segments about this all-important issue on most every morning news and talk show some time in the past three weeks?


I don't miss those crazy PR blitzes from my days as a morning show producer, but this is a pitch at which I would have happily bit.


It's clear that National Ice Cream Month was dreamed up by the dairy industry in a bid to boost sales, and I've certainly done my part to help. One summer in college, I inadvertently observed an almost all ice cream diet and ended up losing more than a few pounds.
What I'd do for a Wegmans in SF...
This year, on  National Ice Cream Day (the third Sunday in July) my family and I appropriately found ourselves at a dairy farm in Woodstock, Vermont.


My nephew getting a lesson on where ice cream comes from.


Dukan Diet be damned - of course I also had to sample the local offerings. I wondered how I spent two and half years living and working in the Vermont TV market without ever having being introduced to a maple creemee.


But I digress.

There are still almost two weeks left in this magnificent, once-a-year, 31-day celebration, and have I ever got an idea for how you can mark the occassion: make your own ice cream!

I'm not asking you to run out and buy a bulky machine, or rock salt, or anything fancy at all.
Are you ready for this? All you need are ten minutes, a mixer, and just two very basic ingredients to start making ice cream that will easily rival your favorite brand. 


Flavors and mix-ins are limited only by your imagination. Here I've got macadamia nuts to go with white chocolate, bacon to go with salted caramel, and a mix of strawberries and pomegranate.


Step 1

Start with 1 pint of heavy whipping cream.
Whip until peaks form.
You don't need a stand mixer, a hand mixer will do the trick.


Step 2

Empty a 14oz. can of sweetened condensed milk into a bowl.
Mix in flavors and ingredients of your choosing.


Step 3

Fold whipped cream into condensed milk mixture until uniformly combined.


Step 4

Pour mixture into a container and store in freezer.

(I hit up the clerk at a neighborhood take-out place for these cardboard tubs that were just perfect,  but you can use tupperware.)


And then comes the hardest part - waiting for it to freeze. And when it does, I promise this ice cream will be so creamy and smooth, you'll be able to convince people you slow-churned it by hand.


Caramel bacon on the left, strawberry-pomegranate on the right.
I know. It sounds too good to be true. But try it, and trust me, you'll be snickering to yourself the next time you see someone eyeing the elaborate ice cream maker display at Williams Sonoma.

Wednesday, June 20, 2012

Read This First: Demystifying the Macaron

I'm going to take another break  from writing about Paris sweets to, well, share a favorite post about a favorite Paris sweet, the macaron.

I started to notice how this delicate beauty was tres en vogue last summer, when it started showing up on most every dessert table pictured on most every party-planning or wedding blog.

So naturally I had to try making some.

I turned to the trusty interwebs to go about my research - reading post after discouraging post about how fickle macarons were, how hard it was to get everything "just right", and how one of many potential missteps would lead to disappointment. And if you know me, you know being meticulous is not really my bag.

But just as I was considering giving up, I came across this post on the BraveTart blog.

Read it before you read anything else on making macarons. 
Read it before you even read BraveTart's Ten Commandments of Macarons.
Read it before you finish reading this post, if you must.

Here goes nothing.

You don't need to take a class. And despite what you might read elsewhere, you don't need to buy a $200 scale, and you don't always need to grind your almond meal and sift your flour exactly 106 times at just the right altitude. Apparently you don't even need to use almonds, would you believe it!

I know because Stella at BraveTart took all the guesswork out of these once-mystical morsels, through a rigorous process of elimination.

From BraveTart:
I don’t know if my experiment would stand up to the rigors of the scientific method, but I did take a systematic approach. I standardized every aspect of my already stable recipe: the exact number of minutes spent mixing, weight and temperature of ingredients, oven temperature, baking time, etc.
Each day, I changed a single variable across multiple batches (generally three), and noted my results. I also tested variables by their absence. (Read more...)

I dove in head first, and look.

(Just ignore that one cracked one.)
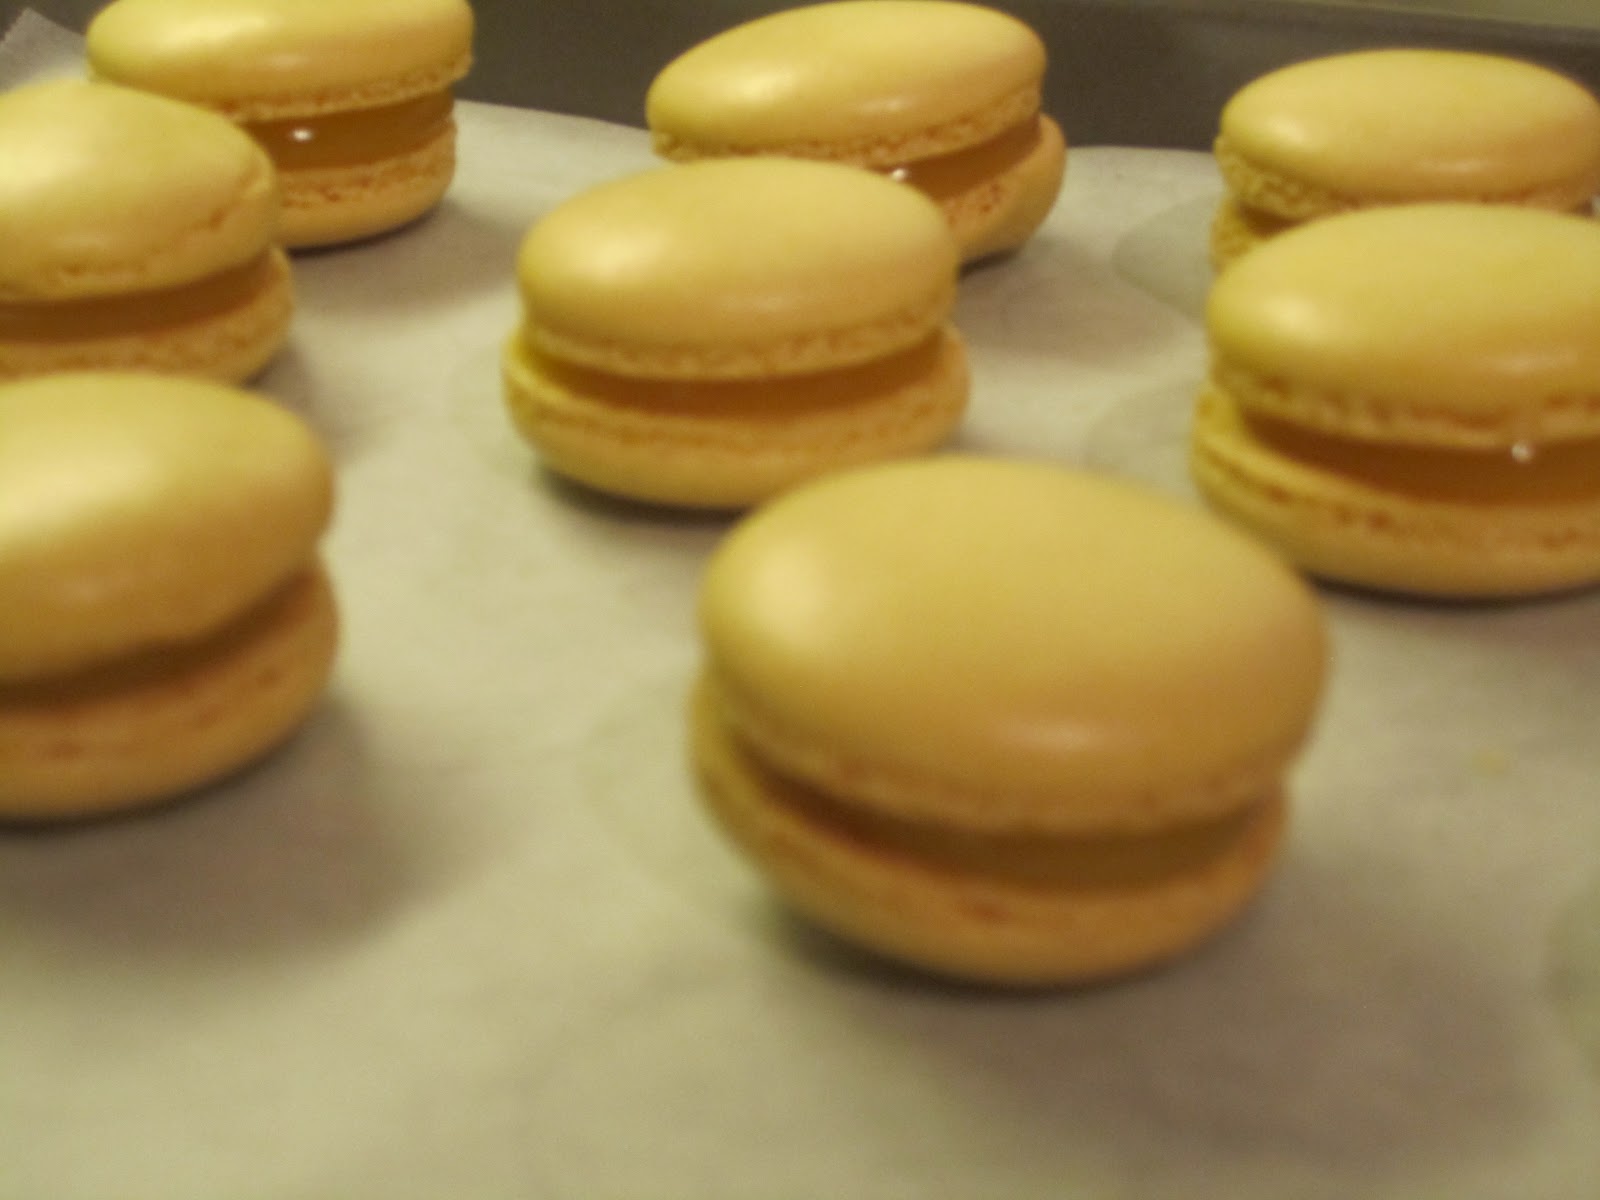
I made these last May, having never set foot in France, and having only ever eaten a macaron maybe twice in my whole life. This lover of short-cuts and occasional experimenter achieved success on the first try. 

Except for one little experiment with caramel sauce, hee hee.

Don't use caramel topping as caramel filling. DUH.
Do use chocolate ganache...
or lemon curd, if you're into that.
Impress your friends and yourself.
Here's that link again, to BraveTart's blog post on Macaron Myths. Recipes follow.


Wednesday, June 13, 2012

2-minute Microwave Mug Cake

We interrupt our regularly-scheduled programming (i.e. my Paris Top Ten List) for this important message:

TODAY IS MY BIRTHDAY. Time to kick it up a notch.

The day started with a completely corrupted version of what's supposed to be a healthy breakfast - oatmeal topped with crème brûlée at Zazie in San Francisco.

Criminal.
Why even bother with the oatmeal. I barely ate any of it (or many of the bananas, for that matter) if only because I had to save room for pancakes. It wouldn't be my birthday without pancakes.


Fast forward to night-time. Post chicken parmesan dinner, made by the mister, came dessert part one: Secret Breakfast Ice Cream from Humphry Slocombe. For the uninitiated, that's bourbon ice cream with corn flakes - Humphry's most popular flavor, but nowhere near its most offbeat (from NYT: Who Wants Prosciutto Ice Cream?)


And if you think the aforementioned prosciutto ice cream is wackadoo, up there on the right is Humphry's foie gras ice cream sandwich. That's right. Ice cream made with fattened goose liver, between two ginger snap cookies (a limited time offer, considering a ban on foie gras goes into effect in SF in July.)

Quite the line-up on my special day. But how does a guy really impress a girl whose life passion is cake?

Why, you get out the flour and bake, of course.


Or in the case of my better half, you get nukin'!

My Sweet (the human, not the blog) had filed away a blurb from Lucky Peach Magazine, which laid out instructions for a chocolate cake, that you make in a mug, in two minutes, in your flippin' microwave!!! 


Mind. Blown.

You could buy this:

Spotted at Cost Plus World Market

But why would you?

Recipes abound on the World Wide Web (just Google "mug cake.") A Pinterest search yields a Nutella-flavored version (mmmm...) repinned dozens of times.

Here's the Lucky Peach version, which calls for a few simple ingredients you probably already have on hand:
3 tablespoons vegetable oil
3 tablespoons whole milk
1 large egg
1/4 teaspoon vanilla extract
3 tablespoons (20 grams) all-purpose flour
4 tablespoons (45 grams) sugar
2 tablespoons (10 grams) unsweetened cocoa powder
Pinch salt
3 tablespoons (30 grams) semi-sweet chocolate chips
 
In a medium sized microwave-safe mug, add the vegetable oil, whole milk, egg, and vanilla extract. Use a fork or small whisk to mix until combined. Add the flour, sugar, cocoa, and salt and mix until combined. Stir in the chocolate chips.
Bake in the microwave on high for two minutes. Serve immediately.

"Serve immediately?" Who's making this in advance? It only takes 2 minutes. And therein lies the danger of this magical microwavable love in a mug: low commitment plus instant gratification equals sweet, sweet temptation.

Encore!
Happy birthday to me.

Saturday, May 19, 2012

Game Changer: Covering Cake Boards

I am on a roll this month. First there was the "piece of cake" experiment, just for fun. Then I made a heart-themed cake, because I was feeling inspired. And just when I thought I was done scratching the itch, I was called on to make the cake for a "polka dot" themed birthday party.


A bit of poor planning led me to my latest trick, and one that I'm very excited about at that - a snappy new way to cover a cake board, without using fondant!

It all came about because I had failed to procure a foil covered board. Without a firm plan in place, I wound up constructing and decorating my entire cake on a flimsy, and by now, grease-stained cardboard cake circle, which I didn't even trim.

This is what I had to work with
As you can see, the cake had sugar paste polka dots lining the bottom edge, which meant covering the board with fondant after completing the cake would be somewhat troublesome.

The idea came to me at the 11th hour. I had stopped at Michael's to pick up a scalloped cake plate to at least fortify the base of the cake. But just feet away, in the scrapbooking section, lay the solution to my shabby cake board conundrum.

I picked up four sheets of scrapbook paper in the colours to match my polka dots, and took them home to see what I could whip up.

I didn't take any pictures of this process - it was late and speed was of the essence. Basically, I positioned the cake, on its board, over the scrapbook paper, making sure one edge of the paper lined up with the cake, and would reach under the cake a little. Then I traced out the shape of the cake board and cut the paper to size. Repeat 3 more times, and you end up with 4 (sort of) semi-circles which I then gently slipped under my cake. The picture below will give you an idea of what I mean.

Close-up 
A little piping gel will hold the paper in place (tape would work just fine as well, but considering that I'm already using scrapbook paper here, I went with the more food safe option.)

For a round cake on a round board, I'd trace the entire circle, and then cut out another circle from inside, slightly smaller than the cake, to create a ring - and then wrap that around the cake and gently tuck under it.

There you have it! Never fuss with covering a cake board with fondant again.

Now here are a few more pictures of this cake in progress:

Pink and aqua cake to go with the the pink, aqua and red color scheme
"Polka dots" in the cake to go with the polka dot theme
Polka dot production in progress (I didn't end up needing the green)
Process of polka dot placement

Bunting made from the leftover scrapbook paper, a little twine, and two coffee stirrers
My favorite part of making cakes.


Tuesday, February 28, 2012

One Great Cake

It's a brand new day here at My Sweet Blog. 

I, Gitu "Bake from a Box" Mehra, have finally turned the corner on baking cakes from scratch, and I have Richard Festen of Baking Arts to thank (read about my first experience with Baking Arts here.)

I recently took Richard's "One Great Cake" class, and he shared a simple recipe for a delicious butter cake which has been working very well for me.

"One Great Cake" at Baking Arts
More importantly, I finally learned how to make Swiss Meringue Butter Cream. How did I ever make a cake with anything else? I actually like this stuff... so silky in my mouth!

The smoothest most delicious frosting I ever made
If you've never made SMBC before, it can be a little intimidating on paper (at least it was for me - I haven't dabbled much in recipes that call for a candy thermometer.) But watching Richard make it in person changed that. As it turns out, you don't really have to measure the temperature of the egg whites, you can just stick your (gloved  *wink wink*) finger in it to test it. If it's too hot to keep your (gloved *wink*) finger in there for a few seconds, it's good to go. 

Action shot: whisking egg whites over a bain marie
I just googled SMBC and Martha Stewart's recipe came up, and it pretty much says the same thing. "Hot to the touch" is what you're looking for. I guess I was just looking at the wrong recipes before.

You can learn about Richard Festen's classes at Baking Arts, or buy one if his DVD's by clicking here.

Tuesday, February 7, 2012

Love for EVERYONE (Plus One Way to Get a Perfectly Flat and Smooth Buttercream Top)

Today, a federal appeals court in San Francisco ruled that California's Proposition 8 is unconstitutional.
That makes this a fine day to share one of my favorite cakes:


A friend had asked about having me make a cake to celebrate Pride weekend in San Francisco last June. He didn't end up needing one after all, but I was so excited about the idea, I made one anyway. As it turns out, the weekend I made this cake was also the weekend New York state voted to legalize gay marriage.
(Aaaand, it was also still my birthday month, so there was that...)

Because a rainbow flag, rainbow letters and rainbow sprinkles weren't enough...


... I also made it rainbow inside.

I showed the rainbow cake process in this picture montage from another post.


I had really been struggling with getting a smooth, flat top on my frosting and used this opportunity to try out an interesting new technique I came across on Cake Central: icing the cake upside down. I thought the results were pretty flawless.

I didn't take any of my own pictures, but here's a collage I made with pictures from the Cake Central post:

Click on the picture to see the full tutorial.

It's basically four steps:

1) Tape a piece of parchment to a board and pipe on a circle of BC, the exact size of your cake (this will be the top of your cake!) Freeze or refrigerate until firm.
2) Place your prepped cake on the frozen circle of icing, fill and layer as needed, and then ice the sides (hence, icing "upside down.") Move quickly! Chill again till firm.
3) Remove the cake from the fridge/freezer, and quickly and carefully flip it over onto your board. Leaving the parchment on top, chill yet again.
4) Once the top is nice and stiff, gently peel back the parchment paper. Perfection!
 
Until this post, I actually forgot how well this technique worked for me. I have to do this again, perhaps on an 8 inch cake (though I'd certainly recommend starting with a 5- or 6-inch if you're trying this for the first time - easier to handle.)

Total game changer!

I hope you like, and I hope you try.

Friday, October 7, 2011

Game Changer - Filling Piping Bags

You will never fill a piping bag the same way again after reading this post.

I wish I could take credit for this idea, but I actually came across it on a blog some months back (can't remember which one, or else I'd link back to it.) I finally put it to the test this past weekend, and I'm not looking back. All you need, besides your prepared piping bag and frosting, is plastic wrap (aka cling film, Saran Wrap, or in my case, "Kirkland Stretch-tite".)


Start by laying down a length of plastic wrap. Plop down some of that frosting on it, closer to one edge (i.e. not right in the middle.) 


If you need a lot of frosting, this technique will allow you to fill the bag with more than you would ordinarily. As you will soon see, the excess will not squirt out the top. More frosting in the bag = fewer stops to refill.

Step 2: Wrap the frosting in your plastic wrap, into a roll that will fit comfortably inside your piping bag.


Next, twist the end of the plastic wrap that's longer, nice and tight, like so:


Now simply feed your roll of frosting into your piping bag with the open end going in first. You see where I'm going with this.


Squeeze the back end of your frosting roll so the frosting breaks out into the piping bag.


Now you can start piping as usual, without having to wash your  greasy hands from filling your bag the old way! Also, as I mentioned earlier, there's less risk of frosting squishing out the top of the bag because you twisted the plastic roll shut. Good, right?

But wait! There's more!

Check out how easy it is to clean up when you're done:


Just pull out your plastic roll and discard. And if that wasn't enough, my piping bag was in much better shape to reuse, which means less waste, which means happy Gitu.

I bet this technique would make "striping" a breeze (I may have just made that term up, but I'm referring to the technique where you fill your bag with 2 colors of frosting.) Ooh I might try doing 3 or 4 now that I have this handy trick up my sleeve.

Oh, final step: Get a manicure already.