"There is one thing I will show you today that, alone, will be worth any money you spent to be here."
That's part of the script I recite at the beginning of each basic cake decorating workshop I've taught through Skillshare.com in San Francisco.
That "one thing", as you may recall from this post from 2011, is a genius technique for filling a piping bag, using plastic wrap. I am still as excited about this as the first time I tried it, and can't even imagine having ever done it any other way.
So without further ado, I'm proud to present, as promised, my first ever video tutorial: "The Easiest Way to Fill a Piping Bag." Enjoy!
If you're reading this blog, you're probably the type of person who knows that National Ice Cream Month is in full swing.
Or perhaps you caught one of the countless segments about this all-important issue on most every morning news and talk show some time in the past three weeks?
I don't miss those crazy PR blitzes from my days as a morning show producer, but this is a pitch at which I would have happily bit.
It's clear that National Ice Cream Month was dreamed up by the dairy industry in a bid to boost sales, and I've certainly done my part to help. One summer in college, I inadvertently observed an almost all ice cream diet and ended up losing more than a few pounds.
What I'd do for a Wegmans in SF...
This year, on National Ice Cream Day (the third Sunday in July) my family and I appropriately found ourselves at a dairy farm in Woodstock, Vermont.
My nephew getting a lesson on where ice cream comes from.
Dukan Diet be damned - of course I also had to sample the local offerings. I wondered how I spent two and half years living and working in the Vermont TV market without ever having being introduced to a maple creemee.
But I digress.
There are still almost two weeks left in this magnificent, once-a-year, 31-day celebration, and have I ever got an idea for how you can mark the occassion: make your own ice cream!
I'm not asking you to run out and buy a bulky machine, or rock salt, or anything fancy at all.
Are you ready for this? All you need are ten minutes, a mixer, and just two very basic ingredients to start making ice cream that will easily rival your favorite brand.
Flavors and mix-ins are limited only by your imagination. Here I've got macadamia nuts to go with white chocolate, bacon to go with salted caramel, and a mix of strawberries and pomegranate.
Step 1
Start with 1 pint of heavy whipping cream. Whip until peaks form. You don't need a stand mixer, a hand mixer will do the trick.
Step 2
Empty a 14oz. can of sweetened condensed milk into a bowl.
Mix in flavors and ingredients of your choosing.
Step 3
Fold whipped cream into condensed milk mixture until uniformly combined.
Step 4
Pour mixture into a container and store in freezer.
(I hit up the clerk at a neighborhood take-out place for these cardboard tubs that were just perfect, but you can use tupperware.)
And then comes the hardest part - waiting for it to freeze. And when it does, I promise this ice cream will be so creamy and smooth, you'll be able to convince people you slow-churned it by hand.
Caramel bacon on the left, strawberry-pomegranate on the right.
I know. It sounds too good to be true. But try it, and trust me, you'll be snickering to yourself the next time you see someone eyeing the elaborate ice cream maker display at Williams Sonoma.
I'm going to take another break from writing about Paris sweets to, well, share a favorite post about a favorite Paris sweet, the macaron.
I started to notice how this delicate beauty was tres en vogue last summer, when it started showing up on most every dessert table pictured on most every party-planning or wedding blog.
So naturally I had to try making some.
I turned to the trusty interwebs to go about my research - reading post after discouraging post about how fickle macarons were, how hard it was to get everything "just right", and how one of many potential missteps would lead to disappointment. And if you know me, you know being meticulous is not really my bag.
But just as I was considering giving up, I came across this post on the BraveTart blog.
Read it before you read anything else on making macarons.
Read it before you finish reading this post, if you must.
Here goes nothing.
You don't need to take a class. And despite what you might read elsewhere, you don't need to buy a $200 scale, and you don't always need to grind your almond meal and sift your flour exactly 106 times at just the right altitude. Apparently you don't even need to use almonds, would you believe it!
I know because Stella at BraveTart took all the guesswork out of these once-mystical morsels, through a rigorous process of elimination.
From BraveTart:
I don’t know if my experiment would stand up to the rigors of the scientific method, but I did take a systematic approach. I standardized every aspect of my already stable recipe: the exact number of minutes spent mixing, weight and temperature of ingredients, oven temperature, baking time, etc. Each day, I changed a single variable across multiple batches (generally three), and noted my results. I also tested variables by their absence. (Read more...)
I dove in head first, and look.
(Just ignore that one cracked one.)
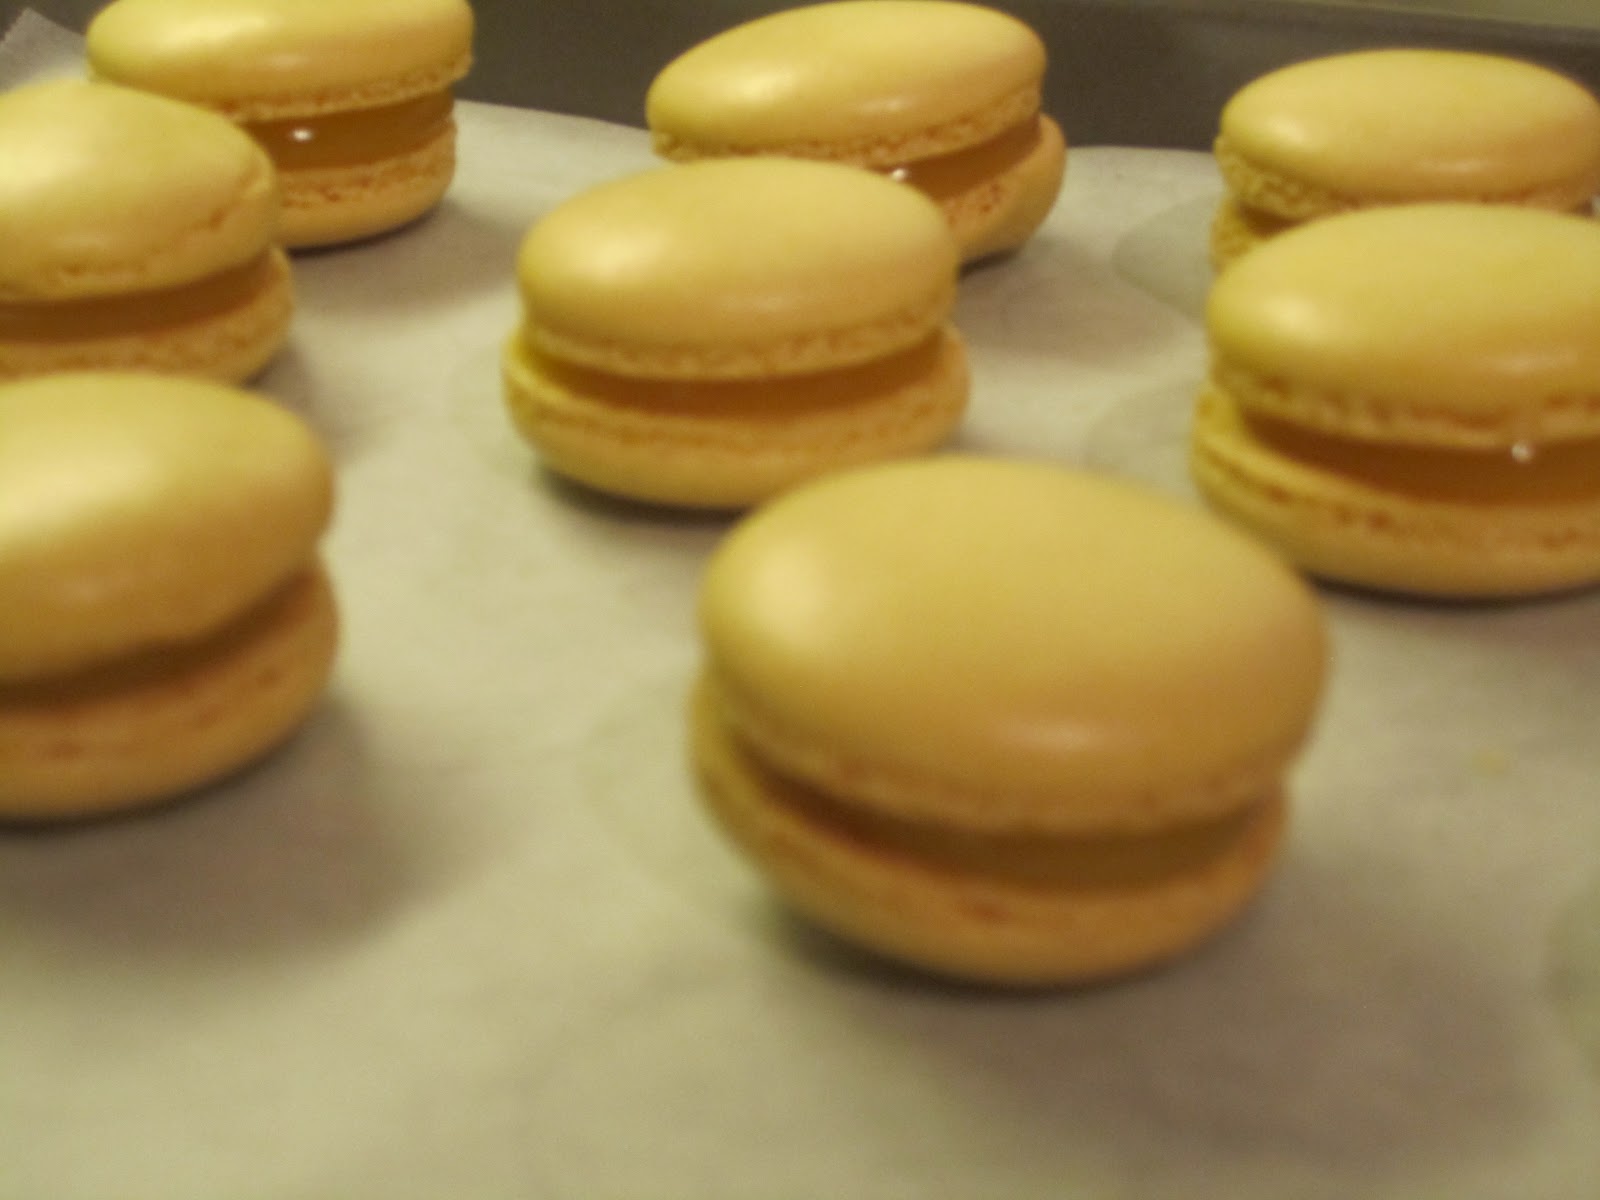
I made these last May, having never set foot in France, and having only ever eaten a macaron maybe twice in my whole life. This lover of short-cuts and occasional experimenter achieved success on the first try.
Except for one little experiment with caramel sauce, hee hee.
Don't use caramel topping as caramel filling. DUH.
That's the sound of me working on a cake after a two-and-a-half month dry spell. Between work and travel, and work travel, my cake supply cabinet was in a sorry state of neglect.
Cake supplies amid some cobwebs.
This week I finally had some time to dust off my turntable and rev up the KitchenAid, for not one, but two mini cake projects, just for fun.
One was a design I had been eager to try for a while: a "Piece of Cake" cake.
I've seen this concept on several Web sites, usually as part of a multi-tiered cake. Take the one below, made by CakeCentral user, "lilo_taart" who credits one of "The Whimsical Bakehouse" books. (I found these books at my local library.)
Just doing the top slice is a great way to make use of a single leftover cake layer, or to create something small that still makes a statement.
One layer, cut into 6 segments and stacked (I only used 4 of the segments)
As you can probably tell, I wasn't too concerned about being neat or mixing the right colors - I really just wanted to "flex my muscle", try some new things and practice some little-used techniques. Like making white chocolate ganache...
My ganache kept separating...
... and ended up a little gritty.
... and working with modeling chocolate.
I had also been dying to play with one of my new cake toys, a KitchenAid pasta roller attachment that I got for Christmas.
I tried feeding some modeling chocolate into the roller but it just crumbled into a messy pile.
I wasn't discouraged, I just wanted to play and really hadn't taken any time to research this technique. My guess is the modeling chocolate was too dry to be workable. I have the "Wrapped Cakes: Extraordinary Stripes" DVD from Baking Arts, where they use the pasta attachment to roll out the modeling chocolate. I'll probably give this another go after watching it.
Click on the video below for a sneak peek.
The second mini cake I made this week had a little more care put into it. More on that in a later post.
I, Gitu "Bake from a Box" Mehra, have finally turned the corner on baking cakes from scratch, and I have Richard Festen of Baking Arts to thank (read about my first experience with Baking Arts here.)
I recently took Richard's "One Great Cake" class, and he shared a simple recipe for a delicious butter cake which has been working very well for me.
"One Great Cake" at Baking Arts
More importantly, I finally learned how to make Swiss Meringue Butter Cream. How did I ever make a cake with anything else? I actually like this stuff... so silky in my mouth!
The smoothest most delicious frosting I ever made
If you've never made SMBC before, it can be a little intimidating on paper (at least it was for me - I haven't dabbled much in recipes that call for a candy thermometer.) But watching Richard make it in person changed that. As it turns out, you don't really have to measure the temperature of the egg whites, you can just stick your (gloved *wink wink*) finger in it to test it. If it's too hot to keep your (gloved *wink*) finger in there for a few seconds, it's good to go.
Action shot: whisking egg whites over a bain marie
I just googled SMBC and Martha Stewart's recipe came up, and it pretty much says the same thing. "Hot to the touch" is what you're looking for. I guess I was just looking at the wrong recipes before.
You can learn about Richard Festen's classes at Baking Arts, or buy one if his DVD's by clicking here.
Look at the new cake decorating books I picked up today!
I picked them out online a couple of days ago, and they were waiting for me with my name on them today, at my local library. I've been pleasantly surprised recently, by the number of fun cake decorating titles carried by the San Francisco Public Library (including the popular "Hello, Cupcake!" series.)
Have you checked your online library catalog lately? If you're like me and are always looking for new sources of knowledge and inspiration (or you just like looking at cake stuff), you may want to.